
When you need to quickly insert 10 blank rows between Row 2 and Row 3 or insert 10 blank rows above specific row in Excel, how would you do? Usually you may insert each blank row one by one. This article focuses on tricky ways to insert multiple blank rows or columns quickly in Excel.
- Insert multiple blank rows or columns quickly with Insert command
- Insert multiple blank rows or columns quickly with keyboard shortcut
- Insert multiple blank rows or columns quickly with Kutools for Excel


 Insert multiple blank rows or columns quickly with Insert command
You can insert 10 blank rows between Row 2 and Row 3 at once with the following steps:
Step 1: Select 10 entire rows below from Row 3 (includes the row 3).
Step 2: then process the following two ways to insert rows:
- Right click the selected rows, and click the Insert item in the context menu, see the following screen shot.
- Or you can also click the Home >> Insert >> Insert Sheet Rows.

Then it inserts 10 blank rows between the Row 2 and Row 3 quickly. You can insert multiple blank columns with same way. For example, you can quickly insert 10 blank columns before column 3.
Insert multiple blank rows or columns quickly with keyboard shortcut
Actually, we can apply the keyboard shortcut of F4 to insert multiple blank rows or columns. Firstly of all, insert a blank row above Row 3, then press the F4 key for 9 times, and it inserts 10 blank rows between the Row 2 and Row3.
If you need to insert dozens of blank rows, you have to press the F4 key for many times. Sometimes it may be tedious and time-consuming.
Insert multiple blank rows or columns quickly with Kutools for Excel
Is there a way to insert multiple blank rows or columns, without neither accounting and selecting proper amount of rows nor pressing F4 repeatedly? Yes, the Kutools for Excel's Insert Blank Rows/Columns tool can help you deal with it conveniently.
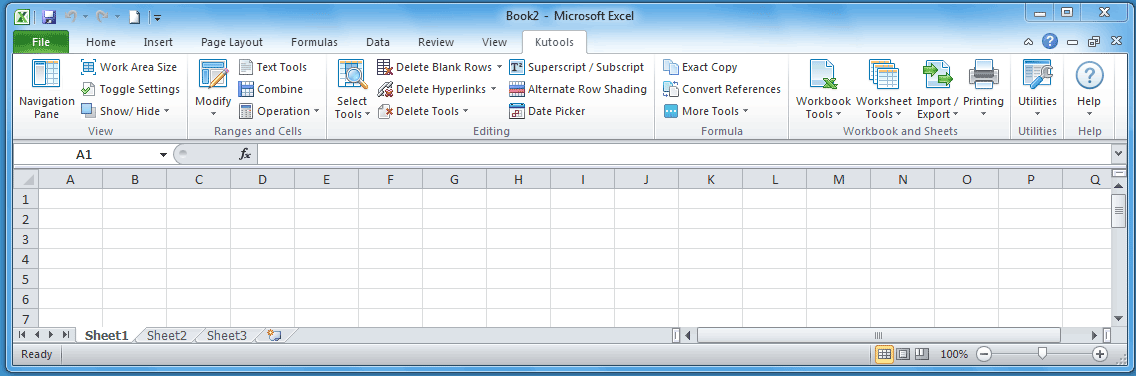
Step 1: Select the Row 2 and Row 3 in this case; and click the Kutools >> Modify >> Insert Blank Rows/Columns.

Step 2: In the Insert Blank Rows/Columns dialog box, enter 1 in the blank box besides Interval of: and enter 10 in the blank box besides Rows: in the Options section.

Step 3: Click OK.
Then 10 blank rows are added between the Row 2 and Row 3 at a blink of eyes.
This Insert Blank Rows/Columns tool of Kutools for Excel will save your time, and make it convenient for you to quickly insert multiple blank rows or columns at specific interval at a time. Click to know more…
Kutools for Excel
More than 120 Advanced Functions for Excel 2007 and 2010
REFERENCES
http://www.extendoffice.com/documents/excel/883-excel-insert-multiple-rows-columns.html


