
We will assume that you have already successfully installed the SSL certificate on one Windows web server. You will follow these steps to move or copy that working certificate to a new server:
- Export the SSL certificate from the server with the private key and any intermediate certificates into a .pfx file.
- Import the SSL certificate and private key on the new server.
- Configure your web sites to use them in IIS.
Export the certificate from the Windows MMC console
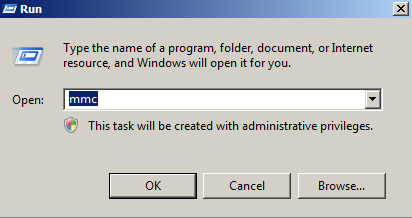
Note: These instructions will have you export the certificate using the MMC console. If you have Windows Server 2008 (IIS7) you can also import and export certificates directly in the Server Certificates section in IIS. Click here to hide or show the images- Click on the Start menu and click Run.
- Type in mmc and click OK.
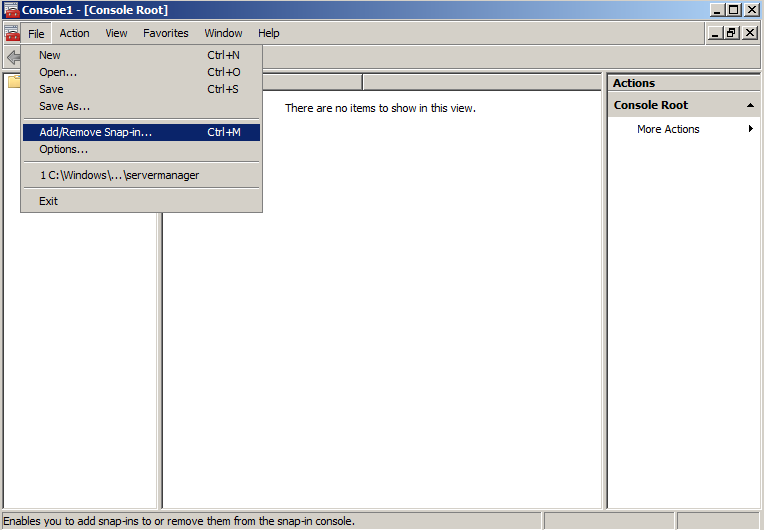
- Click on the File menu and click Add/Remove Snap-in...
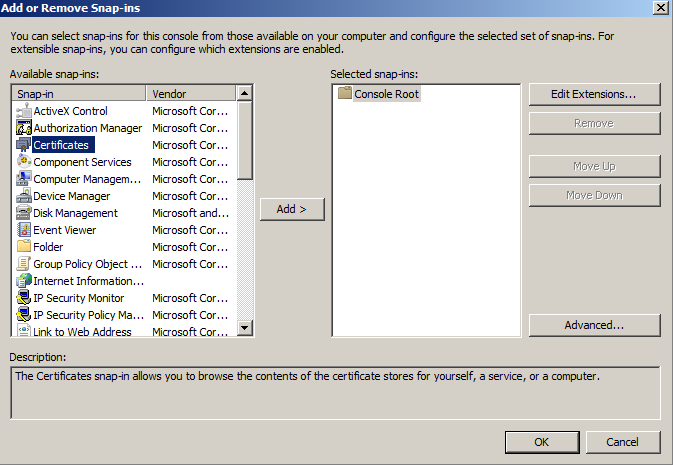
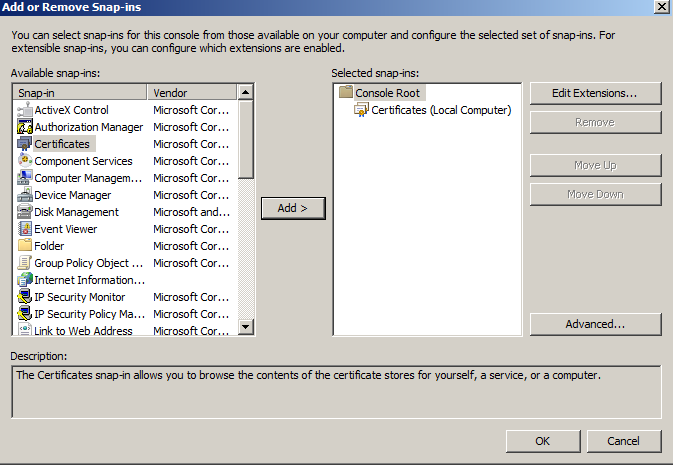
- If you are using Windows Server 2003, click on the Add button. Double-click on Certificates.
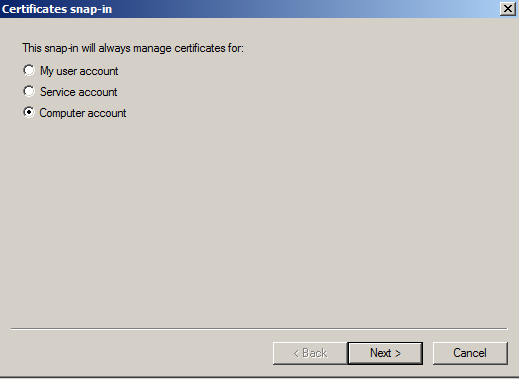
- Click on Computer Account and click Next.
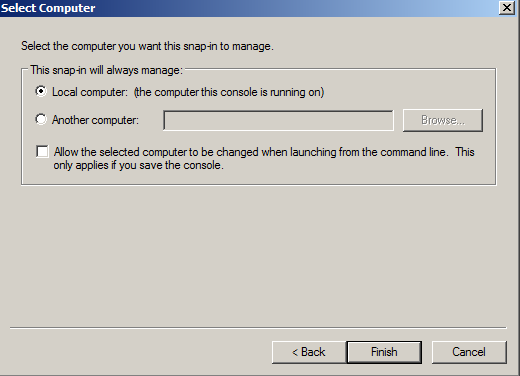
- Leave Local Computer selected and click Finish.
- If you are using Windows Server 2003, click the Close button. Click OK.
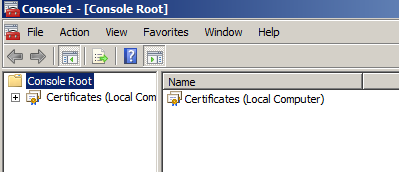
- Click the plus sign next to Certificates in the left pane.
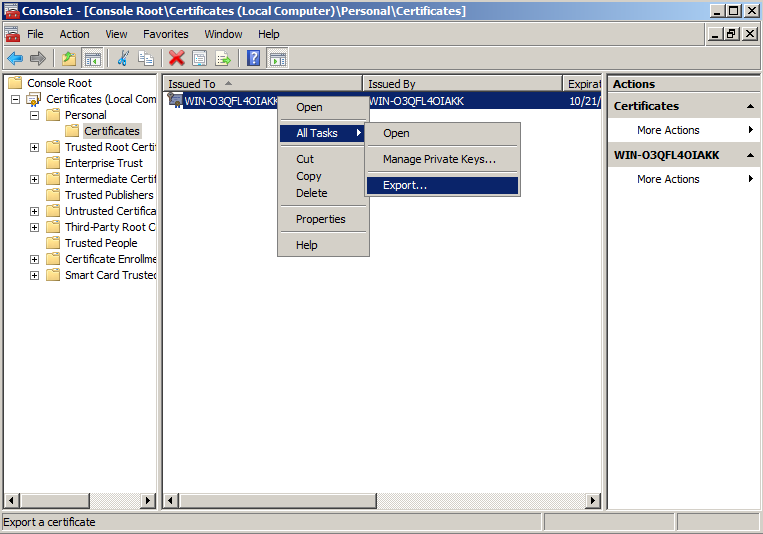
- Click the plus sign next to the Personal folder and click on the Certificates folder. Right-click on the certificate you would like to export and select All Tasks and then Export...
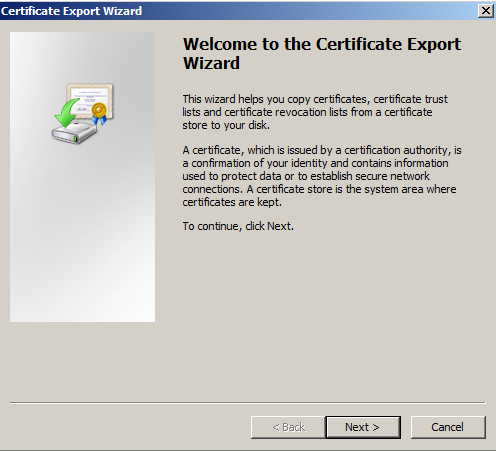
- In the Certificate Export Wizard click Next.
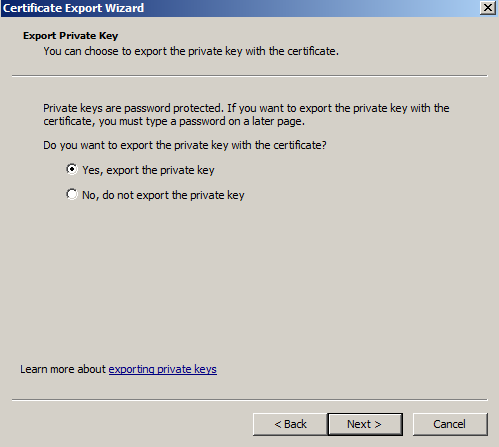
- Choose "Yes, export the private key" and click Next.
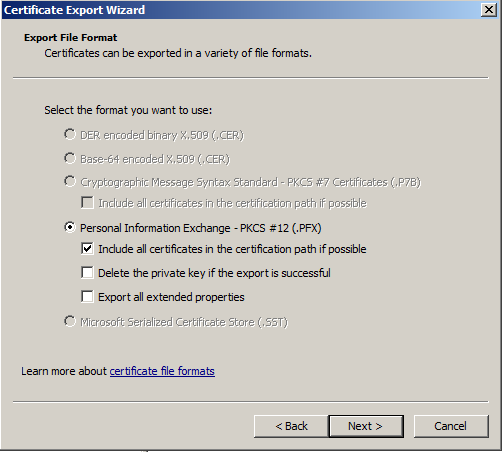
- Click the checkbox next to "Include all certificates in the certification path if possible" and click Next.
- Enter and confirm a password. This password will be needed whenever the certificate is imported to another server.

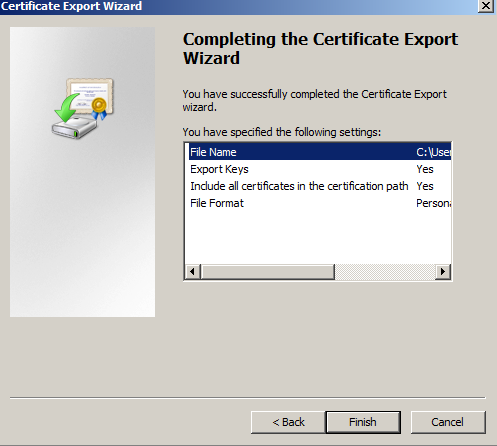
- Click Browse and find a location to save the .pfx file to. Type in a name such as "mydomain.pfx" and then click Next.

- Click Finish. The .pfx file containing the certificates and the private key is now saved to the location you specified.
Import the certificate in the Windows MMC console
After you have exported the certificate from the original server you will need to copy the .pfx file that you created to the new server and follow these import instructions.- Click on the Start menu and click Run.
- Type in mmc and click OK.
- Click on the File menu and click Add/Remove Snap-in...
- If you are using Windows Server 2003, click on the Add button. Double-click on Certificates.
- Click on Computer Account and click Next.
- Leave Local Computer selected and click Finish.
- If you are using Windows Server 2003, click the Close button. Click OK.
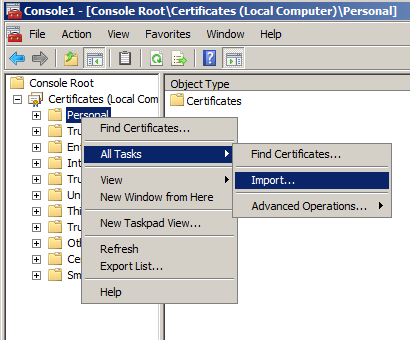
- Right-click on the Personal folder and select All Tasks and then Import...
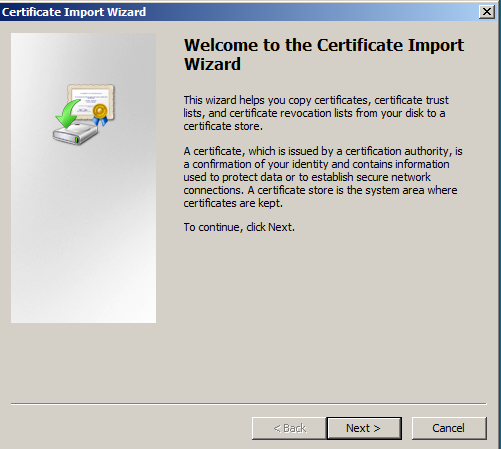
- In the Certificate Import Wizard click Next.
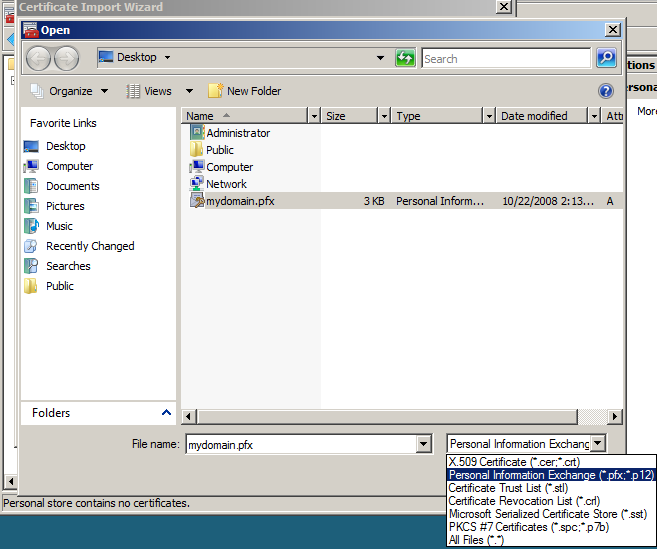
- Click the Browse button and change the file type from "X.509..." to "Personal Information Exchange (*.pfx, *.p12)". find the .pfx file that you copied over and click Open and then Next.
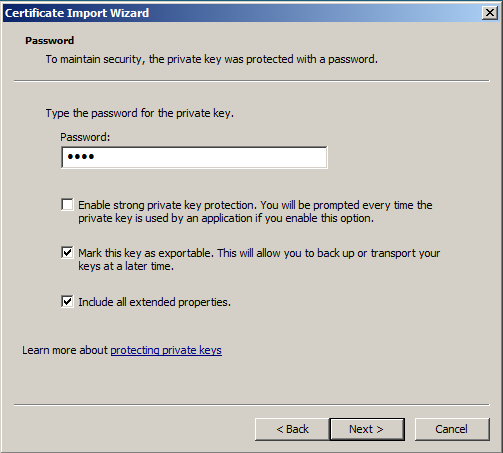
- Enter the password that you set when you exported the .pfx file and click "Mark this key as exportable" so you can export the certificate from this machine as well as the original. Click Next.
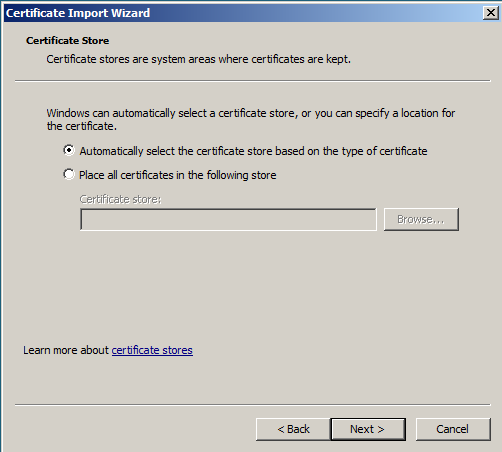
- Click "Automatically select the certificate store based on the type of certificate" and click Next.
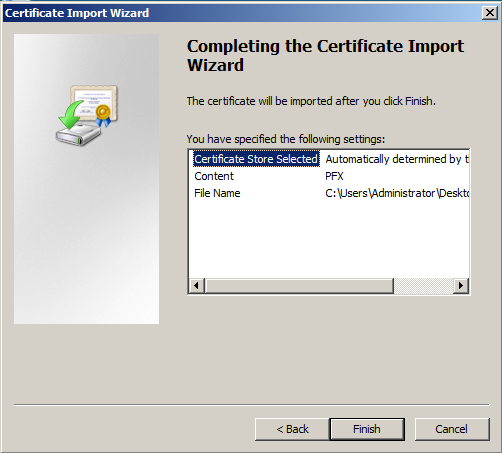
- Click Finish to complete the wizard.
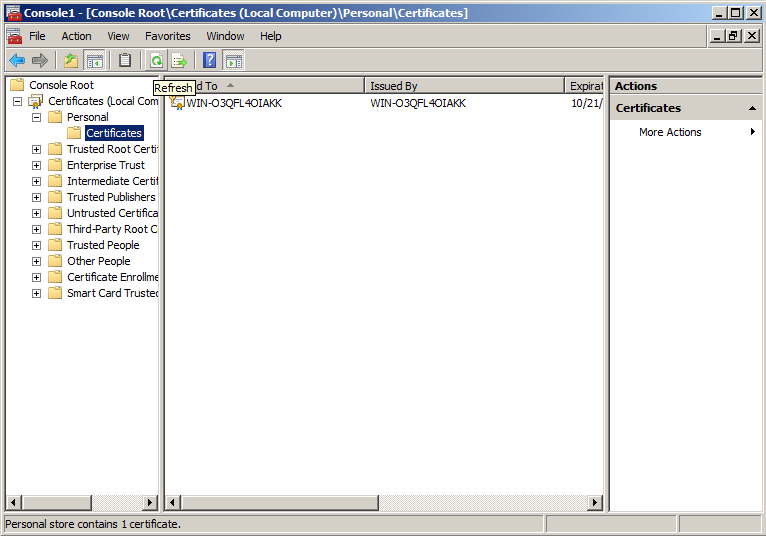
- You can now click the Refresh button in the toolbar to refresh and find your certificate in the Certificates folder under Personal. You can verify that it was imported correctly by double-clicking it and looking for "You have a private key that corresponds to this certificate" at the bottom of the certificate dialog.
- Close the MMC console. You do not need to save any changes.
Assigning the SSL certificate
After you have imported the .pfx file, you will either need to assign the certificate in IIS, enable the certificate for the services you need in Exchange or select the certificate in any other software that you are using. Because IIS is the most common place to use SSL certificates, we have included the instructions for assigning a website to use the new certificate in IIS 6 (Windows Server 2003). If you have Windows Server 2008, just follow the binding part of the IIS 7 SSL Certificate Installation instructions.- In IIS, right-click on the website that needs the certificate and click on Properties.
- Click the Directory Security tab and click on the Server Certificate button to run the server certificate wizard.
- If you already have a certificate on that website you will need to remove it and then start the wizard again.
- Click "Assign an existing certificate" and click Next.
- Select the new certificate that you just imported and click Next.
- Click Finish. You may need to restart IIS for the certificate to start working with the assigned website.
REFERENCES
http://www.sslshopper.com/move-or-copy-an-ssl-certificate-from-a-windows-server-to-another-windows-server.html